موقع شبكة تواصل اجتماعي عربية الثقافة “Qafeer” Social Network Specially for Arab. شبيه facebook twitter instagram snapchat tiktok vk
تفاصيل العمل

موقع شبكة تواصل اجتماعي عربية الثقافة “Qafeer” Social Network Specially for Arab.
موقع شبكة تواصل اجتماعي تطبيق شبيه بالفيسبوك تويتر انستقرام
facebook twitter instagram snapchat tiktok vk
==========================================
#User/General Features::>>>
============================
2.1.1 Server Object
The Server class acts as a wrapper for all server functions for our social networking site. It essentially act as a link between all of the information such as accounts, account details, pages, notes, etc to our database. When any other model object such as a page is pulled from the server, a temporary copy is made. If that temporary copy is changed in any way. The new version must be sent to the server in order to update the permanent copy. The reason behind local copies is that all the necessary information for the object is sent over in one easy-to-use package. Then the update to the database can be done all at once by sending back that single object. There is no need for multiple functions or a function that takes a large number of parameters.
2.1.2 Account Object
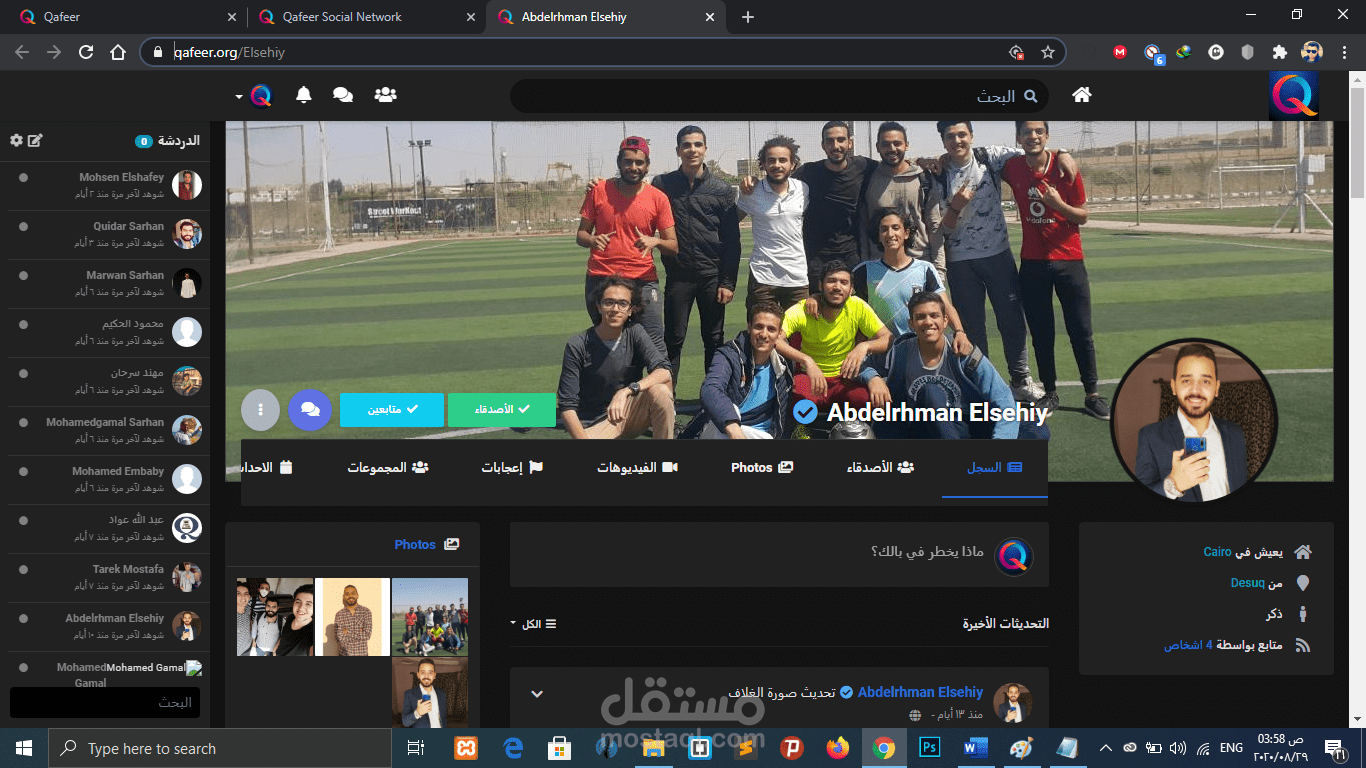
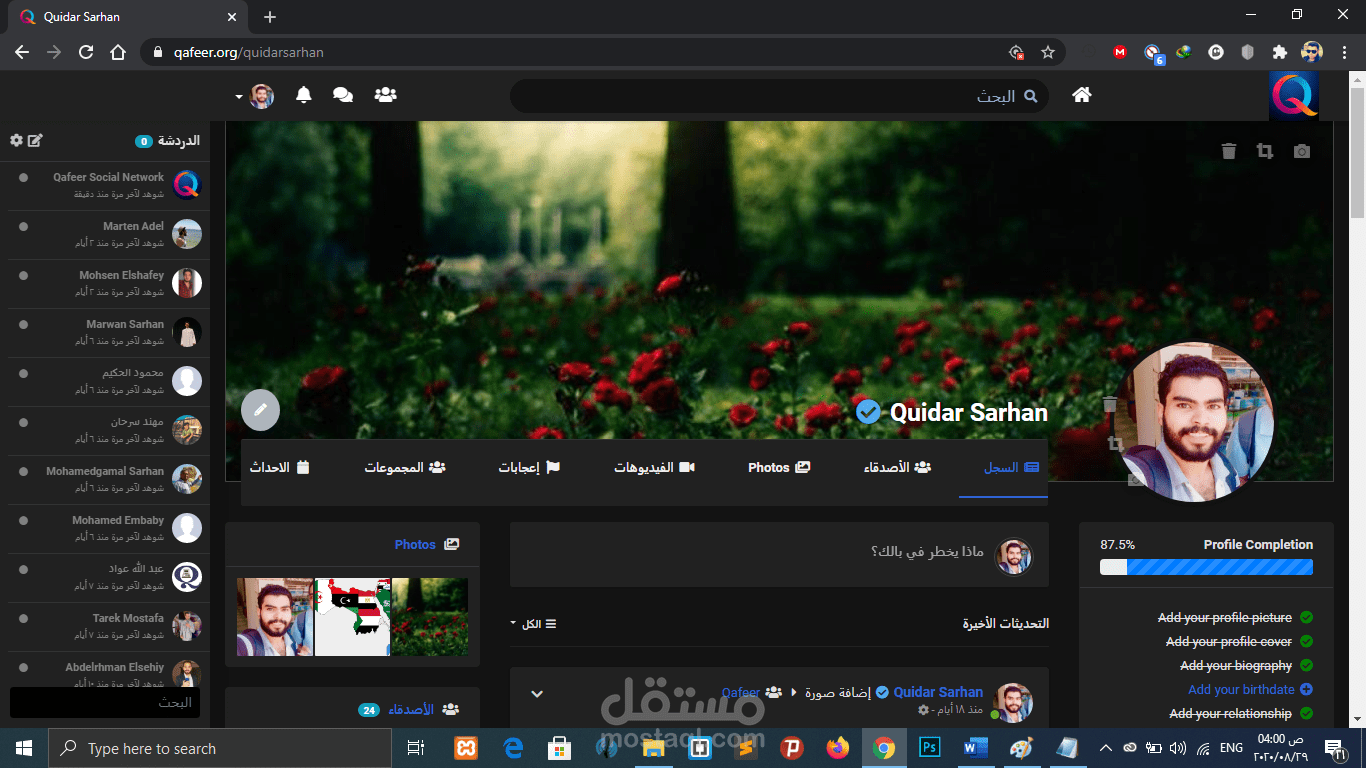
Each user who wants to use the site must create an account. This is the head class that all other objects use to determine what a user does and when the user did it. The account’s information has four purposes: hold the login information, hold friend information, hold profile information, and hold privacy information with such a large amount of information to keep track of, the Account class would be very large and difficult to work with. Therefore to ease the load, the Account class was broken up into three different classes. There is the actual account class which keeps track of login information and friend information. It also holds the other two classes within it. Profile information was outsourced to the Account Details class, and privacy settings were outsourced to the Privacy Settings class. The only time the Account class needs to be updated is when the user changes his/her username and/or password. All other settings are handled by the Account Details and Privacy Settings classes.
2.1.3 Account Details Object
An Account Details object is a helper class created whenever a new Account object is created. The object contains all the information that shows up in the user’s profile. The user can edit this by modifying his/her profile. Overall, this class has no other purpose but to be a helper class to its account object.
2.1.4 Privacy Settings Object
A Privacy Settings object is the other helper class created whenever a new Account object is created. This object contains all the privacy settings that a user has, such as who can view his/her media or custom pages. This class is called any time a user visits a profile or content created by another user. However, it does not directly interact with the other model classes, only the view.
2.1.5 Chat Session Object, Event Object, Link Object, Note Object and Page Object
These objects contain unique information for a particular type of action a user performs. All of these contain a reference to the account that owns them. Each object is a ”working-copy” of an object in the Server. Anytime one of these objects is created on the Server, an entry of its creation is added to the news feed database.
2.1.6 Message Object
A Message object is created when a user composes a new message to be sent to a friend. After it is confirmed that the friend is located in the database, the Message object adds its information to the database. When a user checks his or her inbox, a list of messages that were sent to the user will be shown in descending order of when they were received.
2.1.7 Wall Post Object
A Wall Post object works very similar to a Message object. The only difference is that the Wall Post objects are viewable to all friends of the user. Another difference is that a Wall Post object can hold comments. If a user adds a wall post to his or her own account, their status will change to the new wall post.
2.1.8 Friends
The most important feature is being able to add and remove friends. In our Social Networking site, making friends is a fairly straightforward process. Users can type in the name of a friend in the search bar at the top of their home page. The database is queried for an account that has the search term contained in the full name, any media files with the search terms in the description, any pages with the search terms in the titles, any links with the search terms in the titles, and any notes with the search terms in the title. For example, User A could search for User B in the search bar. After clicking on User B’s profile, User A will see a button that says Send Friend Request. Clicking on it will send an alert to User B that User A wants to be a friend. The friend request will now be in the friends list of User B, where he/she can either accept it or ignore it, letting it sit there indefinitely. If user B accepts the request, User A will be added to User B’s friends list and vice versa. Being friends has its advantages. For example, only friends can chat to each other. Also, friends can view any part of a profile that is marked as friends only. Finally, for a user to view his/her friends and incoming friend requests, he/she just clicks on the friends tab which brings up a frame.
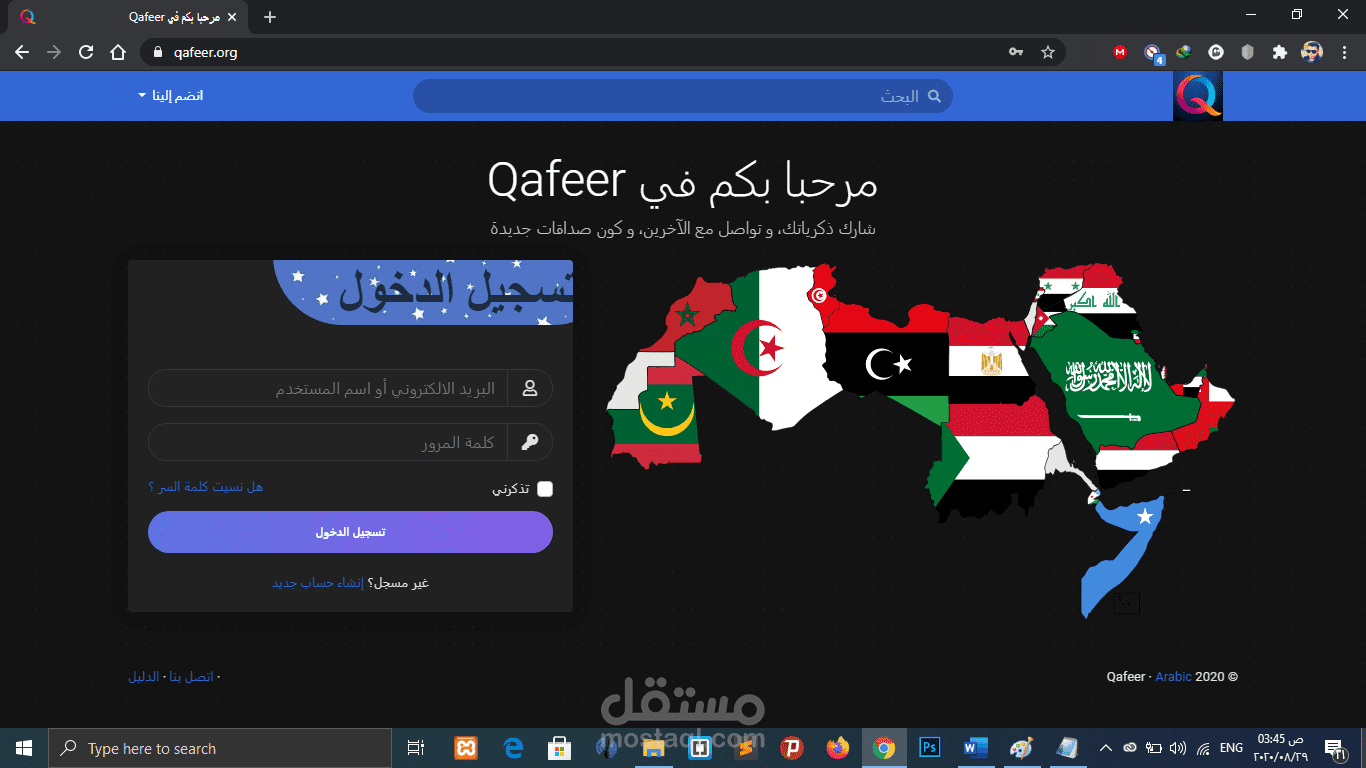
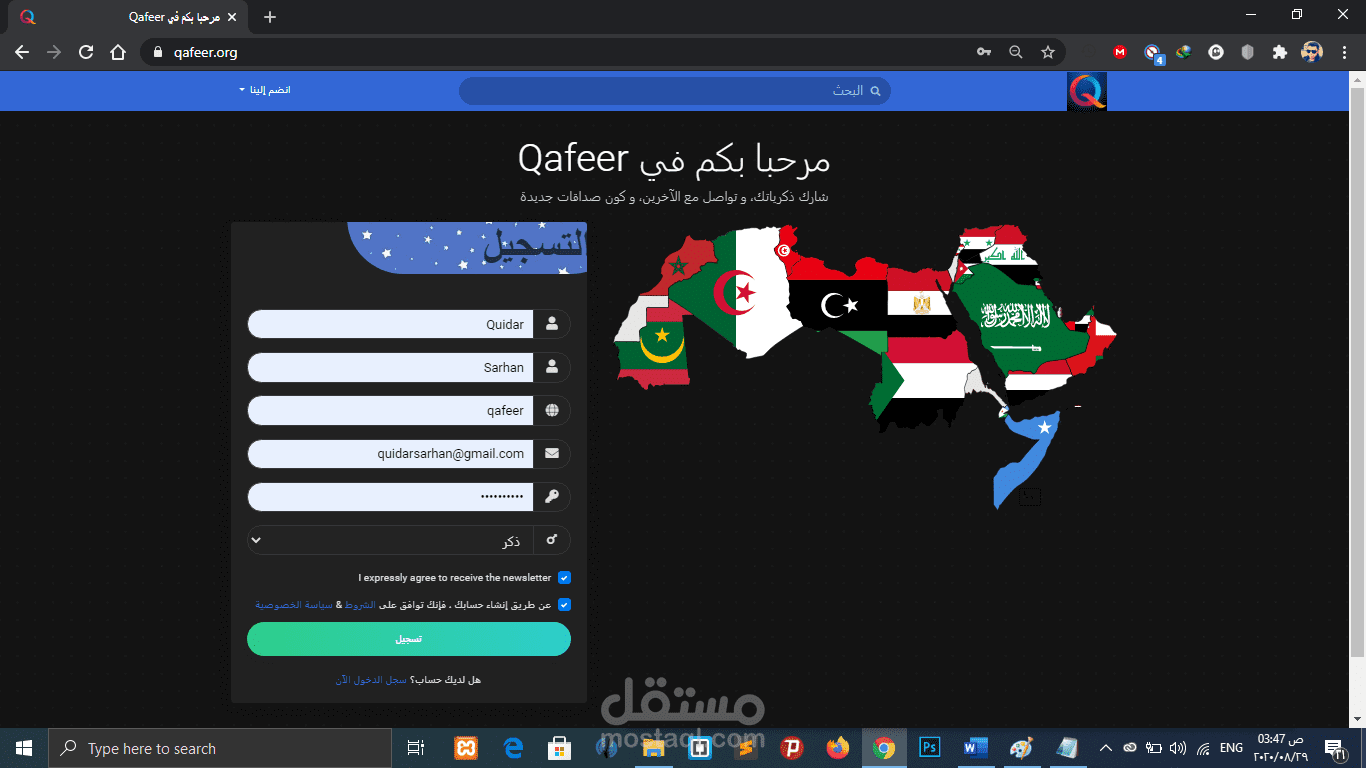
2.1.9 Account Creation
When a user accesses the site for the first time, he/she must create an account before using any of the site features. The account creation process is broken into three sections. The first section deals with the login information and is required for the user to fill out. This includes the email, password, and password confirmation. The purpose behind the password confirmation is to ensure that the user didn’t accidentally mistype when creating a password. The second section deals with information about who you are such as name, location, and gender. Most of these fields are optional except for your name and gender. It wouldn’t be much of a social network if everyone was named anonymous. The final section deals with information about the users likes and dislikes, such as interests and activities. Unlike the other two sections, this section is completely optional. Once the user clicks create account, a new account, account details, and privacy settings are added to the server, and the user is brought back to the login page
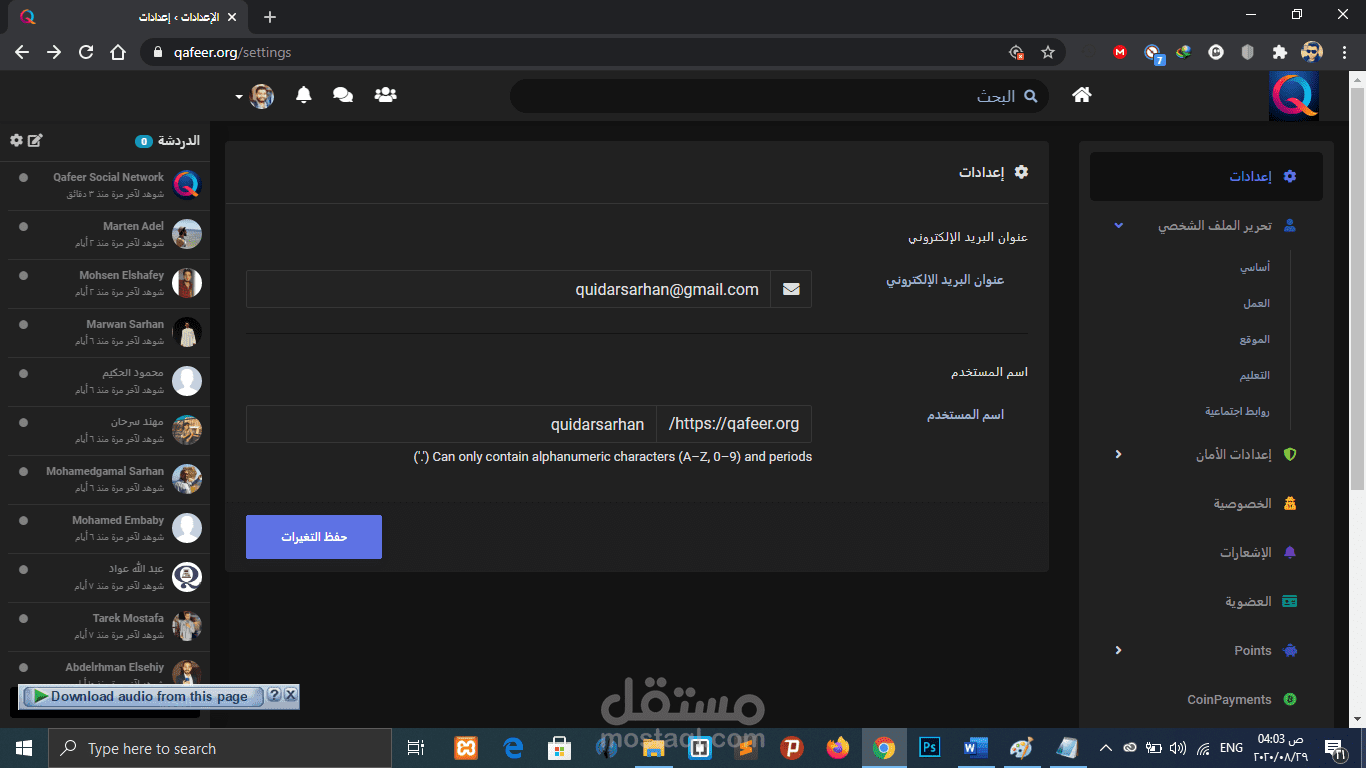
2.1.10 Privacy Options
Privacy is very important feature for some people, and social networking is no exception to this. Our system provides three levels of privacy: open, friends only, and closed. A feature with an open privacy level is public and may be viewed by anyone. By contrast, a feature with a closed privacy level is completely private and can only be viewed by the account owner. A feature with a friends only privacy level is fairly self explanatory. By default, al privacy levels are set to open when a new account is created. To change privacy levels, the user can click on the options tab on the top menu bar. The current features with privacy levels are media share, account wall, user pages, notes, and the overall profile privacy.
The implementation of privacy is a fairly straightforward process. When the user makes changes to the privacy level, the Privacy Settings object in the account is updated with the new privacy settings. That working copy is then passed into the update method of the server, and that queries the database to set the record for that privacy settings object to the new values. When a user visits another profile, the profile owner is pulled from the database.
In the function the privacy settings object is pulled from the viewer profile and the page type determines which privacy setting is pulled from the object. If the setting is open, the function automatically returns true. If the setting is friends only, the function only returns true if the viewer profile is a friend of the page owner or if the viewer profile and the page owner are the same. Finally, if the setting is closed, the function only returns true if the viewer profile is the page owner. Once the function returns its answer the page will either do one of to things. If the function returns true, the viewer is allowed to view this page, and it will load normally. If the function returns false, the viewer is not supposed to view the page, and it will redirect to an error page.
2.1.11 Chatting
One of the advantages of having friends is the ability to have live communications with them via chat. When a friend is online, he/she will appear in the chat tab as an available friend to chat with. To start a chat session, simply click on the name of the friend which will begin a new chat session. The little bar at the bottom will change from chat disabled to chatting with friend name as seen in the figure below. Also, the friend receiving the chat will get a notification that a new chat session has started. Then the two friends can chat with each other until one or both log out.
The chat feature is a little more complex than others as it requires a combination of JavaScript and JQuery to work. When a user clicks on a friend name to begin a chat, a chat request is sent to the database. On every page there is a JQuery function that queries the server for any new chat requests once a second. It needs to be JQuery, so the client can request for the server to run a check and return any relevant information. If it was pure PHP, the page would never load completely, because the page cannot finish loading until the server is done all preprocessing. The JavaScript portion of JQuery allows the client to ask the server to do more processing after the page has been loaded.[3] If there is a new chat request, a pop under is generated, notifying the receiver of the new chat that is starting or a new pending chat if the user is in another chat. When a user send a message, another JQuery function is called, to alert the server that it needs to update the chat session with a new message. At the same time, another JQuery function is running to ask the server once a second if the chat session has been updated. Overall, it is a lot of the client asking the server to send over any changes that exist.
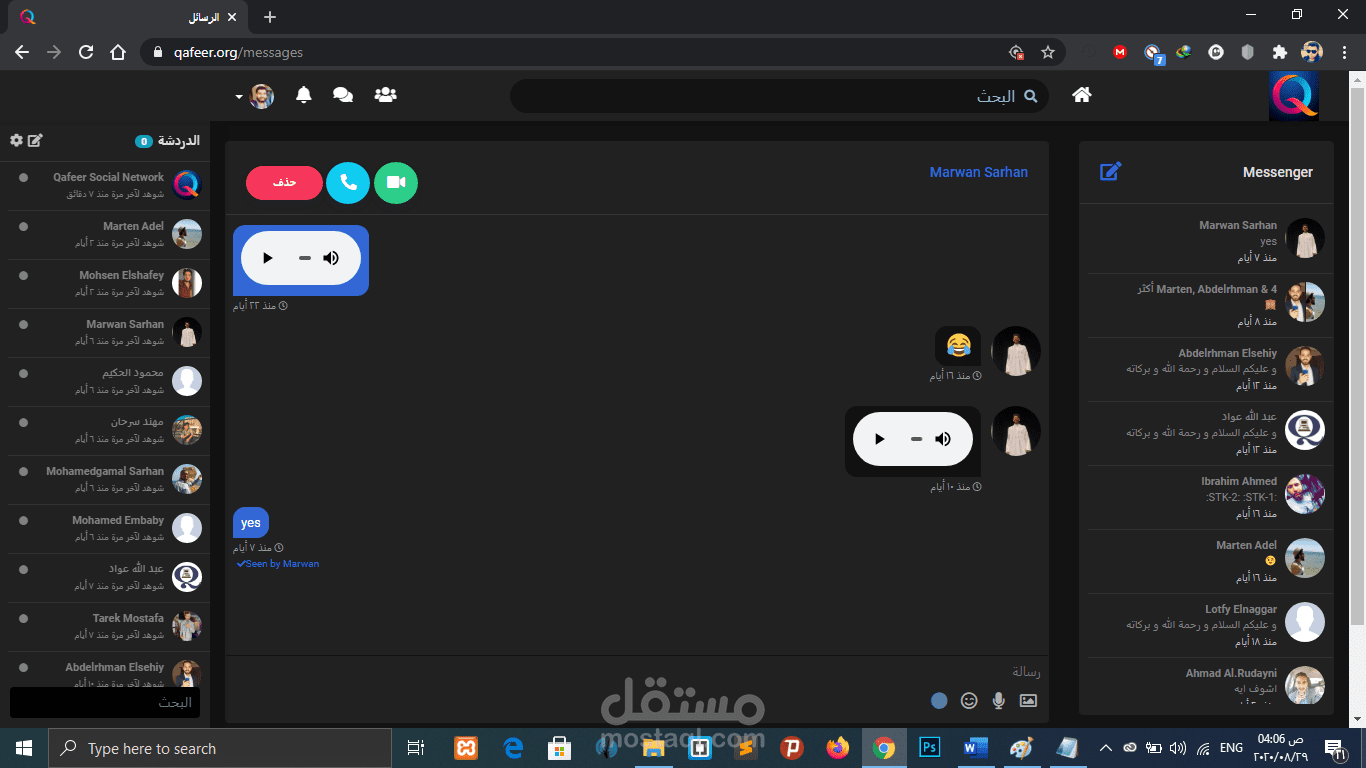
2.1.12 Messaging
Unlike with chatting, users can send a message to any other user. For user A to send a message to user B, he/she simply goes to the message center tab and clicks compose message. He then fills out the form as shown in the figure below with the email of the recipient, the message title, and the message content. The new message will then be in User B’s inbox in the message center.
Messaging is implemented by storing a record of the message in the server. First a message object is constructed that takes in the to and from accounts, the message body, and the date it was sent. The message body is retrieved from a user submitted form, the from account is retrieved from the user session, and the receiver account is retrieved from the recipient email address. The receiver account is validated, to ensure the sender didn’t try to send a message to a non-existent receiver. Finally, the new message is stored in the server. Retrieving messages sent to the user is a simple method of querying the server for any messages that have been sent to the user, and this is done by checking the receiver id of each message against the account id of the user. Any matches are returned to the inbox of the user as shown in the figure below.
2.1.13 Events
In addition to messaging your friends, social networking sites are a great place to alert your friends of important upcoming events. For example, if a user is throwing a birthday party, he/she could create an event an invite friends he/she wants to attend or simply make it a public for anyone. The process of creating an event is as simple as filling out a form which looks like this.
After filling out the form, the user will be brought to the standard confirmation page. He/she can then view the new event by clicking on the Events tab and clicking on the new event. If the user wishes to edit some information about the event, he/she can click on the edit link next to the event where a similar form to creating an event will be displayed with all the fields populated with the current event information.
Storing the event is a fairly straightforward process. Once the form data is submitted, a new Event object is created storing the Account that created the event as well as all the information sent along with the form. That new event is then sent to the server, which creates a database query and stores the fields of the event object into equivalent fields of the event database table. Retrieving events is also a fairly straightforward process. A MySQL query is called to pull the contents of the event into an array, and that array is used to instantiate a new working copy of the event in an Event object.
2.1.14 Media Uploading
As people use their social networking account, they will want to be able to upload funny or interesting images, video, music, etc., to share with their friends. The media upload section will be located at the media tab, where users are able to specify a file to upload as well as provide a short description of the file to be uploaded. In order to prevent users from uploading potentially malicious files such as executables, only certain file extensions are supported. These allowed extensions cover popular image extensions such as png, jpg, gif, and bitmap, video extensions wmv and avi, audio extensions mp3, wma, and wav, and some document files including txt, rtf, doc, and pdf.
The inner workings of this uploading process are surprisingly simple, since the HTTP server takes care of requesting the file from the client automatically. After the user clicks upload, the file is sent to the server and stored in a temporary location. Through PHP all information about these temporary files can be accessed through the $ FILES variable. The temporary location is stored in that variable and can be used to pull the file name and file extension.[1] That extension is then checked against an array of allowed extensions. If the extension is in the list, the file is then moved to a permanent location in the media folder under a subfolder for the user’s account. If the extension is not on the list, it is left in the temporary folder where it will be automatically deleted by the server once the php script completes.
2.1.15 Other features
facebook twitter instagram snapchat tiktok vk
i)Wall
ii)Notes
بطاقة العمل
| اسم المستقل | Qidar M. |
| عدد الإعجابات | 8 |
| عدد المشاهدات | 200 |
| تاريخ الإضافة | |
| تاريخ الإنجاز |