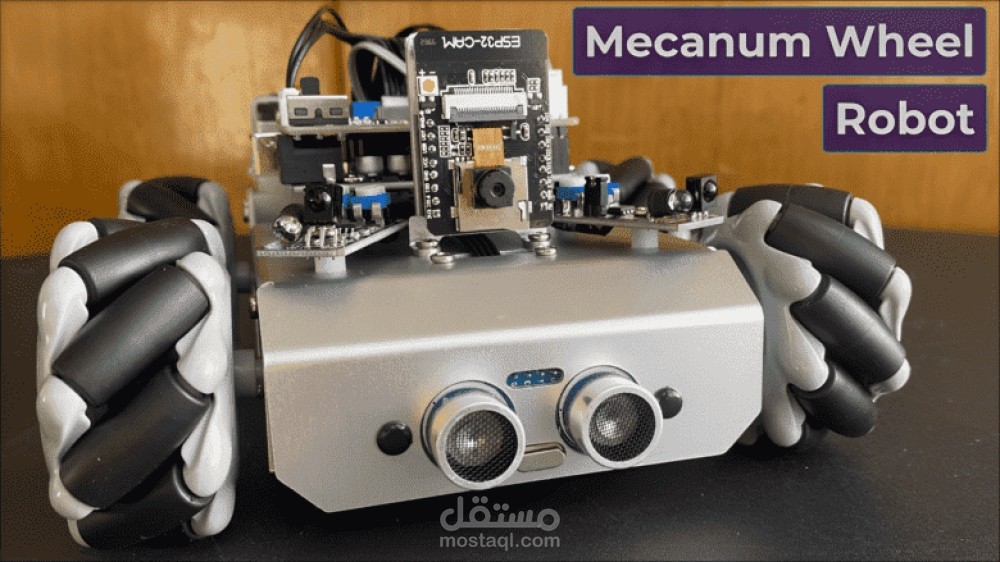
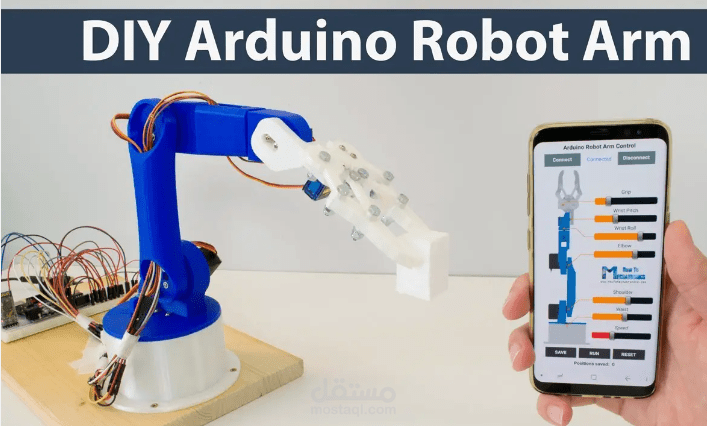
Arduino Project
تفاصيل العمل
When working on an Arduino project, there are several key aspects and steps involved. Here are the work details of an Arduino project:
1. Project Planning: Define the project objectives and requirements. Determine the functionality, features, and components needed for your project. Consider the hardware and sensors required, as well as any external devices or modules that may be necessary.
2. Circuit Design: Create a circuit diagram that illustrates the connections between the Arduino board and the various components. Identify the pins and interfaces that will be used for input and output.
3. Component Selection and Procurement: Choose the appropriate Arduino board model based on your project requirements. Select the necessary sensors, actuators, displays, or other components needed for your project. Purchase or source the components from reliable suppliers.
4. Programming: Write the code that will run on the Arduino board. Use the Arduino Integrated Development Environment (IDE) or other compatible development platforms to write, compile, and upload the code to the board. The code will define the behavior and functionality of your project.
5. Circuit Assembly: Connect the components and modules according to the circuit diagram. Take care to ensure correct wiring and proper connections. Use jumper wires, breadboards, or soldering techniques as needed.
6. Testing and Debugging: Upload the code to the Arduino board and test its functionality. Use serial communication or other debugging techniques to troubleshoot and fix any issues. Ensure that the hardware and software components are working together as expected.
7. Project Integration: Integrate the Arduino project with any external systems or devices it interacts with. This may involve connecting to a computer, mobile device, or other microcontrollers. Implement the necessary protocols and communication interfaces.
8. Project Packaging and Enclosure: Design and construct an appropriate enclosure or packaging for your project. Consider factors such as aesthetics, protection, accessibility, and portability. Use 3D printing, laser cutting, or other fabrication techniques if required.
9. Documentation: Document your project by creating a detailed description, including the circuit diagram, code, and any additional instructions or guidelines. This documentation will be useful for future reference or if you want to share your project with others.
10. Project Deployment: Deploy your Arduino project in its intended environment. Make any necessary adjustments or optimizations based on real-world conditions. Ensure proper power supply, safety measures, and user instructions if applicable.
11. Maintenance and Iteration: Monitor and maintain your Arduino project over time. Update the code or hardware components as needed. Incorporate user feedback and consider making improvements or adding new features.
It's important to note that the specific steps and details may vary depending on the complexity and scope of your Arduino project. Additionally, having a solid understanding of electronics, programming, and Arduino fundamentals is crucial for successful project development.

