Programming
تفاصيل العمل
The specific implementation of a motor driver program in C++ would depend on the motor driver you are using and the specific requirements of your project. However, here are some general steps that you might take to program a motor driver in C++:
Choose a C++ development environment: Select a C++ development environment that is appropriate for your project and the motor driver you are using. Popular options include Visual Studio, Eclipse, and Code::Blocks.
Include the necessary libraries: Include any necessary libraries for your motor driver in your C++ program. This may include libraries for controlling the specific type of motor, such as stepper motors or DC motors.
Set up the motor driver: Set up the motor driver to communicate with your computer. This may involve connecting the motor driver to your computer via USB or serial port, or through a microcontroller such as an Arduino.
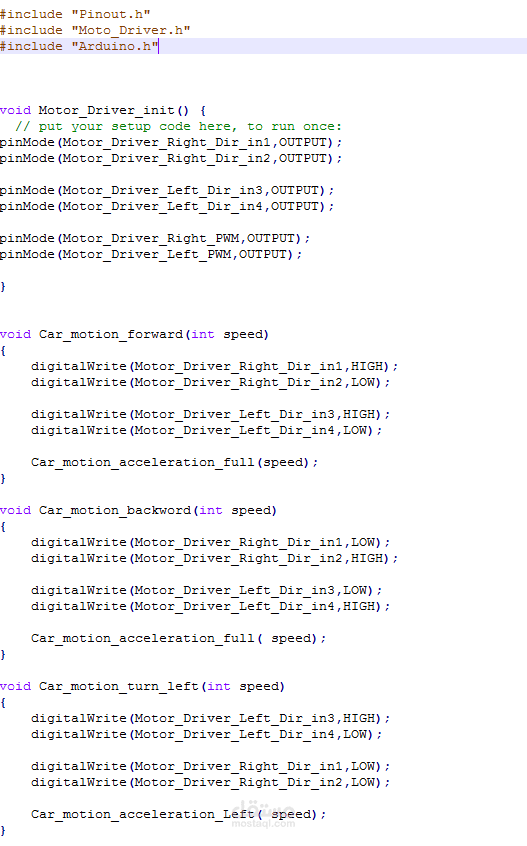
Write the code: Write the C++ code to control the motor driver. This may include commands to set the speed and direction of the motor, as well as any other necessary controls.
Compile and test: Compile the C++ code and test the motor driver to ensure that it is functioning as expected. You may need to adjust the code or motor driver settings as necessary